
GRATIS
vía Coursera
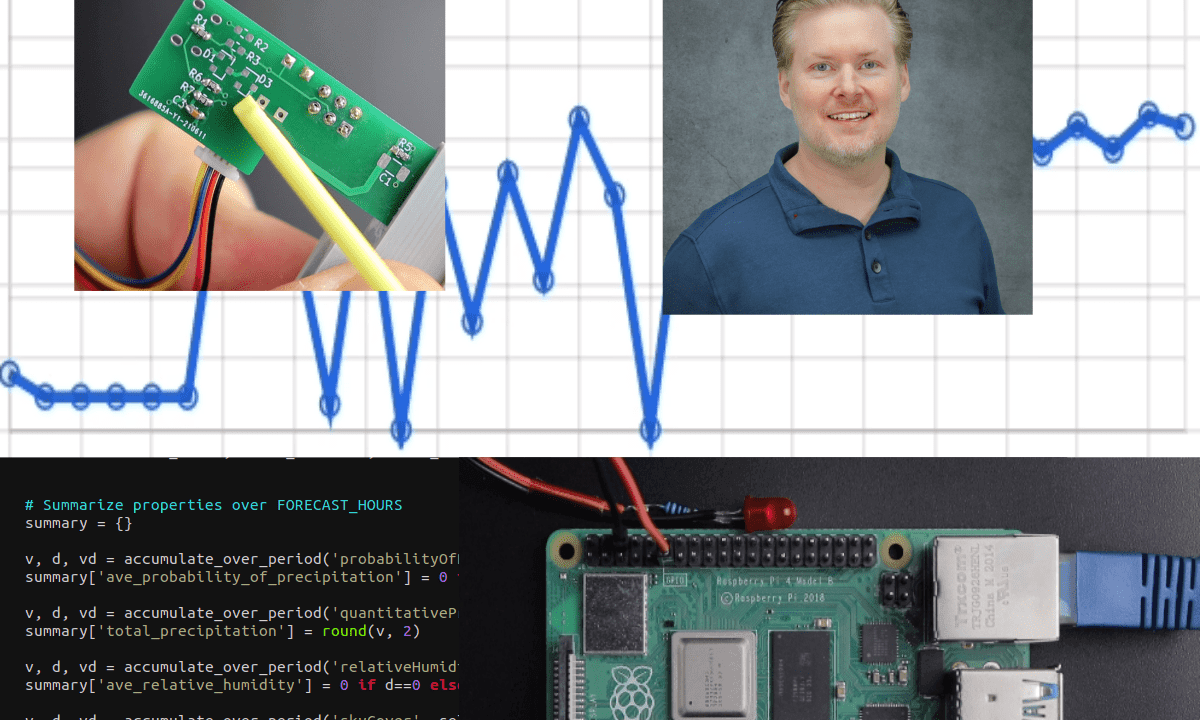
GRATISBeginning Custom Projects with Raspberry Pi

Cursos gratis (Auditar)


Inglés

Siempre Abierto

Guía de Registro en Coursera

Acerca de este curso
Compártelo


- Installing, Configuring, and Connecting to Your Raspberry Pi Over the Network
- In this module, we introduce the Raspberry Pi, and discuss how it is different from an Arduino. We will install and configure the operating system on a Raspberry Pi and connect to it via a network connection. If you’re not familiar with the Linux shell, there is an optional bonus section at the end of this module on Linux command line basics. Soon, we'll be using the pins on the Raspberry Pi to control things in the real world such as an LED.
- Controlling Your Raspberry Pi Over the Network
- As we enter this module, your Raspberry Pi is up and running on the network and we’ve done quite a lot on the Linux command line. In this module, we’ll connect to a full graphical desktop session over the network, learn some electronics theory and how we can use the GPIO pins to light an LED, and create a web API endpoint to toggle the LED and demonstrate how embedded devices can use simple web APIs for a control interface. At the end of this module is an optional bonus section on the Python language, which you might find useful if Python is new for you. All of this is groundwork for the next module where we create sensors and spin motors with the Raspberry Pi.
- Using Sensors and Motors
- In this module, we’ll build on our Raspberry Pi GPIO skills and use some of the dedicated circuitry for driving special signals, like the pulse width modulation (PWM) circuitry, to vary the brightness of an LED. We’ll also access external hardware to run a motor, and discuss when external hardware is necessary, such as for real-time application or to drive power-hungry devices like motors. This is a fun module, and if you've been wondering how to control hardware with a Raspberry Pi, I think you'll find a lot of answers in this module. In the final module, Module 4, we'll take these individual skills and everything we've learned in Modules 1 and 2, along with some new ideas, and build a project together. By the end of this module, you might be surprised to see what types of complex systems you already know how to design and build.
- Let's Make Our Own IoT Project
- In the first three modules we got our Raspberry Pi running over the network, we interfaced to physical world items such as LEDs and motors, and we controlled our Raspberry Pi with a web API. In this module we’ll take a closer look at some security concepts, combine what we know about sensors and electronics to create our own web-enabled home automation project you can access from your phone or computer. We'll keep things simple because the goal is for you to understand how all the parts work and, when it's time for you to create your own project, you can extend these concepts to create even the wildest projects.
Cursos relacionados


GRATIS Aprendiendo a aprender: Poderosas herramientas mentales…

Deep teaching solutions

Español
GRATIS Programación para todos (Introducción a Python)
University of Michigan
Inglés

GRATIS The Science of Well-Being
Yale
Inglés

GRATIS Negociación exitosa: Estrategias y habilidades esenciales
University of Michigan
Inglés

GRATIS Primeros Auxilios Psicológicos (PAP)
Universitat Autónoma de Barcelona
Español

GRATIS Chino para principiantes
Peking University
Inglés
¿Te apetece valorar
nuestra web?
4.3 / 5 ( 3432 votos )
¿Preparado para tu próximo proyecto laboral?
Copyright © 2022 Mooc. Todos los derechos reservados